 how-to
How to Prepare for a Virtual Dermatology Consultation
Table of Contents
- What to Expect During a Virtual Dermatology Appointment
- Gather Your Medical History and Health Information
- How to Take Pictures of a Skin Rash for a Doctor
- Set Up Your Technology and Environment
- Virtual Dermatologist Appointment Checklist
- Questions to Ask a Dermatologist During a Telehealth Visit
- Privacy, Security, and Photo Submission
- When to Schedule an In-Person Visit Instead
- Frequently Asked Questions
Last Updated: October 18, 2026
What to Expect During a Virtual Dermatology Appointment
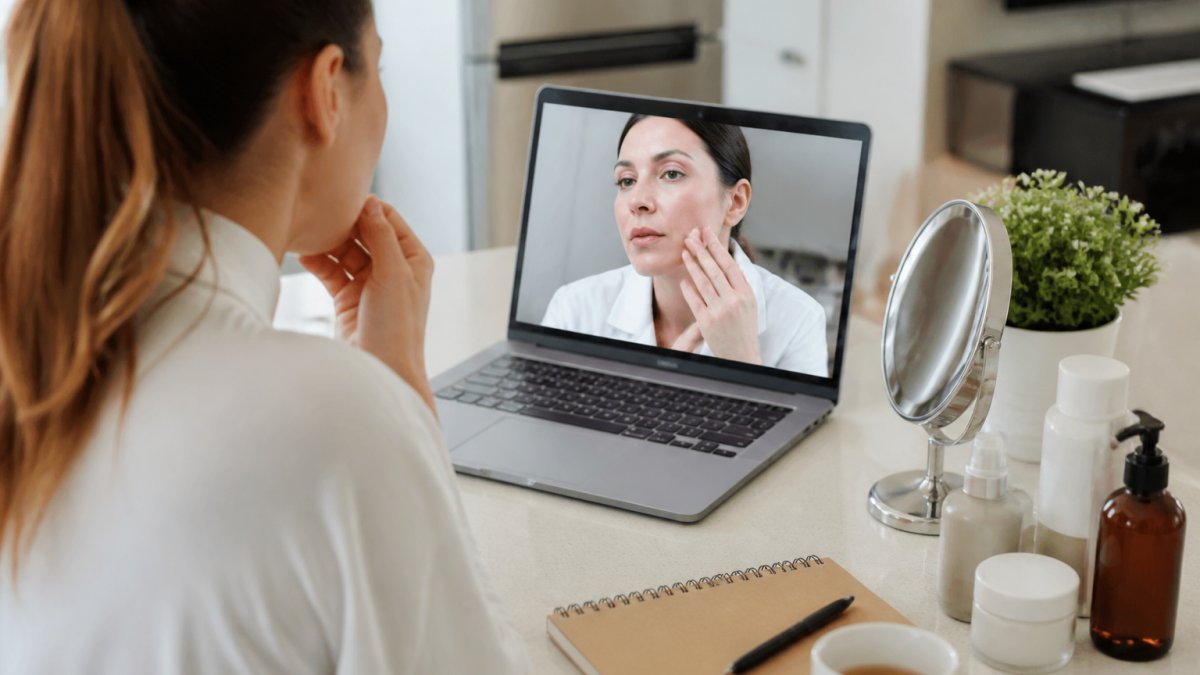
A virtual dermatology consultation works differently from an in-person visit, but the core goal remains the same: get professional skin assessment and treatment recommendations without leaving home.
The dermatologist will walk you through your medical history, current medications, and any allergies relevant to your skin. They'll ask about your symptom timeline, when the rash started, what makes it better or worse, and how it's affecting you. Most virtual consultations last 20 to 30 minutes, though this varies based on complexity.
At the end, your dermatologist will discuss their findings and recommend a treatment plan. This might include a prescription sent directly to your pharmacy, skincare product suggestions, or advice to follow up in person if they need to examine your skin more closely.
Gather Your Medical History and Health Information
Before your virtual dermatology consultation, compile your complete medical history. Write down any skin conditions you've had in the past, surgeries, or significant health events.
Document any allergies, especially to medications or skincare ingredients. If you've had allergic reactions to specific products, note the brand names and what happened. This information helps your dermatologist avoid recommending something that could trigger a reaction.
Gather details about your skincare routine. What products do you currently use? How often? How long have you been using them? If you've tried treatments before without success, mention those too.
Also prepare information about your lifestyle. Do you spend time in the sun? How much water do you drink daily? Do you exercise regularly? These factors influence skin health, and your dermatologist may ask about them during your virtual dermatology consultation.
How to Take Pictures of a Skin Rash for a Doctor
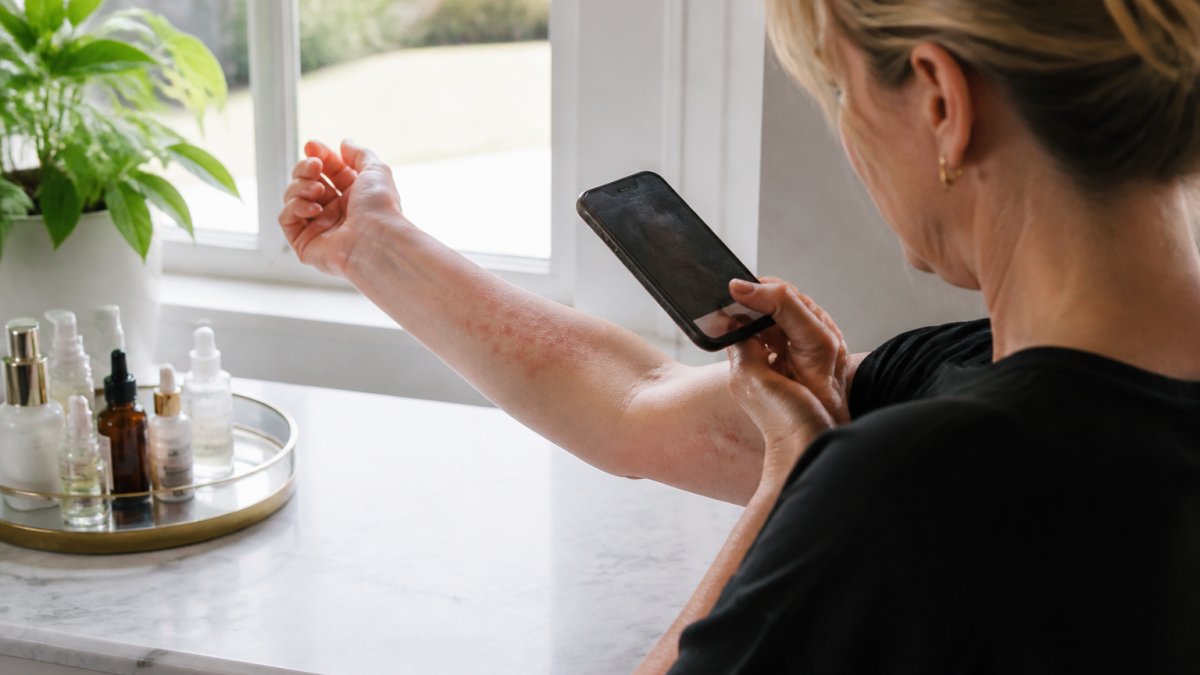
Clear, well-lit photos are the single biggest factor in whether a virtual dermatology consultation produces an accurate diagnosis. Poor images force your dermatologist to guess, and guessing leads to less accurate assessments. Most practitioners find that a small set of well-composed photos beats a large batch of blurry ones. Aim for at least four images: a wide shot for context, a mid-range shot of the affected area, a close-up of the lesion itself, and a second close-up from a different angle.
Lighting and Camera Setup
Natural window light is your best option. Position yourself near a window during daytime so sunlight falls directly on the affected area. Avoid shadows across the rash, since they obscure texture and color.
Use your smartphone camera. Modern phones have excellent resolution and autofocus, which works fine for skin photos. Clean your camera lens first, because dust or fingerprints blur the image. Turn off flash, HDR enhancement, beauty mode, and any filters. Your dermatologist needs to see your actual skin, not an altered version.
Distance, Focus, and Scale
Start with a wide shot showing the rash in context. If the rash is on your arm, photograph your entire forearm so the dermatologist sees where on your body it appears. This gives them anatomical context and helps them judge distribution.
Then take a mid-range photo from about 12 inches away, followed by a close-up from about 4 to 6 inches away. The rash should fill most of the frame in the close-up. Tap the screen on the rash to lock focus, and hold still for a second before pressing the shutter.
Include a scale reference in at least one photo. Place a coin, a ruler, or a common object next to the rash so the dermatologist can judge size (the American Academy of Dermatology). Without a scale, a 3-millimeter spot and a 3-centimeter patch can look similar on screen.
Photographing Different Body Areas and Skin Tones
Some body areas are harder to photograph than others. For the scalp, part the hair and use a second person or a mirror to help. For the back, use a mirror or ask someone to take the photo. For the face, shoot straight on and then at a 45-degree angle to show contour. For the feet and hands, photograph both the top and the sole or palm, since rashes often appear differently on each surface.
Skin tone matters for photo accuracy. On lighter skin, redness and pinkness show up easily, but subtle texture changes may be missed. On darker skin, redness may appear purple, brown, or gray, and inflammation can be harder to see. Use bright, diffuse light and avoid overexposing the image, which can wash out darker skin tones.
Consistency and What to Avoid
Take photos in good lighting at the same time of day. Lighting changes how rashes appear, so consistency helps your dermatologist compare images over time. Avoid using filters, editing apps, or flash photography. Do not crop so tightly that the dermatologist loses context, and do not submit screenshots of photos, which reduce resolution.
If the rash covers a large area, take multiple close-ups of different sections. Your dermatologist needs to see the texture, color, and distribution pattern clearly. Include any variations in appearance, because some spots might look different from others.
Set Up Your Technology and Environment
Test your internet connection before your appointment. A stable connection prevents video freezing or dropping. Run a speed test if you're unsure, because most video consultations need at least 2.5 Mbps download speed.
Check your device. Use a computer, tablet, or smartphone with a working camera and microphone. Test both before the appointment. Open the video platform your dermatologist uses and confirm it works on your device.
Position your device at eye level. If you're using a phone, prop it on a stand or book so you're not holding it. This keeps your hands free and prevents shaky video.
Choose a quiet, private space for your virtual dermatology consultation. Close windows to reduce outside noise. Let household members know you're on a medical appointment so they don't interrupt. A bedroom or quiet office works well.
Virtual Dermatologist Appointment Checklist
Before your video visit begins, run through this quick checklist to ensure everything is ready.
| Item | Status | Notes |
|---|---|---|
| Internet connection tested | ☐ | Run a speed test if uncertain |
| Device camera and microphone working | ☐ | Test before appointment time |
| Video platform installed and logged in | ☐ | Open it 5 minutes early |
| Quiet, private space selected | ☐ | Door locked, household members notified |
| Lighting set up for skin visibility | ☐ | Natural window light preferred |
| Medical history and medications listed | ☐ | Have notes ready to reference |
| Photos of affected area submitted | ☐ | Clear, well-lit images from multiple angles |
| Insurance information available | ☐ | Have card or policy number ready |
| List of current skincare products | ☐ | Brand names and how long you've used them |
| Questions written down | ☐ | Refer to notes during consultation |
Questions to Ask a Dermatologist During a Telehealth Visit
Come prepared with specific questions about your skin concern. Generic questions waste time, focus on what matters most to you.
Book your appointment today! →
Ask about the diagnosis first. What is causing your skin condition? Is it contagious?
Ask about treatment options. What's the recommended approach? Are there alternatives? How long before you see results? What's the timeline for improvement?
Discuss side effects and precautions. If your dermatologist prescribes medication, ask about potential side effects and how to manage them.
Ask about skincare during treatment. What products should you avoid? Can you wear makeup? Should you change your routine?
Ask about follow-up. Do you need an in-person visit later? When should you return for a virtual dermatology consultation check-in?
Write down any lifestyle questions. Can you exercise? Should you avoid sun exposure? Are there activities that might aggravate your condition?
Privacy, Security, and Photo Submission
Your skin photos contain sensitive health information. Understand how your dermatologist handles them before you submit anything.
Ask your dermatologist's office how they store photos. Are they encrypted? How long do they keep them? Who has access? Reputable practices use secure platforms that comply with health privacy regulations.
Submit photos through the platform your dermatologist provides, not via email or text. These platforms encrypt your data and maintain audit trails.
Don't post skin photos on social media, even in private messages. Screenshots can be taken, and privacy settings change. Keep your health information off public platforms entirely.
Ask about consent before your appointment. Some dermatologists use patient cases for education or research. You have the right to decline.
If you're uncomfortable with photo submission, discuss alternatives with your dermatologist. Some can work with descriptions alone, though photos significantly improve diagnostic accuracy.
When to Schedule an In-Person Visit Instead
Virtual dermatology works well for many skin concerns, but some situations require in-person evaluation.
If you have signs of infection like warmth, pus, or rapidly spreading redness, seek in-person care.
If you're experiencing severe symptoms, intense pain, difficulty breathing, or facial swelling, go to an emergency room instead of waiting for any appointment, virtual or otherwise.
Schedule an in-person visit if your virtual dermatology consultation didn't resolve your concern after a reasonable treatment period. Some conditions need hands-on examination, biopsies, or procedures that require in-person care.
If you have multiple skin concerns affecting different body areas, in-person evaluation often works better. Your dermatologist can assess everything at once and prioritize treatment.
At Skin Solutions by 2 Divas in Sebring, FL, we understand that some skin concerns benefit from the personalized, hands-on approach that only in-person consultations provide.
A virtual dermatology consultation offers convenience, but preparation determines success. When you're ready to explore personalized skin care solutions, Skin Solutions by 2 Divas in Sebring, FL offers custom corrective facials designed to address your specific concerns with results-driven care.
Frequently Asked Questions
What information should I have ready for a teledermatology appointment?
Gather your complete medical history, including current medications, allergies, and any previous skin treatments. Have a list of skincare products you currently use, details about when your skin concern started, and any triggers you've noticed (stress, diet, weather). Write down questions you want to ask your dermatologist. If you're a new patient, prepare your insurance information and any referral letters if required. Having this information organized before your virtual dermatology appointment ensures the consultation runs smoothly and your dermatologist can provide accurate guidance.
Can a dermatologist diagnose a skin condition during a video visit?
Many skin conditions can be diagnosed through a virtual dermatology consultation when clear photos and a detailed symptom description are provided. Your dermatologist will examine the images, review your medical history, and ask targeted questions about your skin concern. However, some conditions may require an in-person examination, skin biopsy, or specialized testing to confirm a diagnosis. Your dermatologist will let you know if an in-person follow-up visit is necessary for accurate diagnosis and treatment planning.
How should I take photos of a skin concern for a virtual dermatology visit?
Use natural light from a window or outdoor setting for the clearest images. Take both close-up photos of the affected area and full-area photos showing the broader skin region. Ensure your camera is steady and the skin concern is in sharp focus. Avoid filters or editing. Take photos from multiple angles if the area is three-dimensional. Include photos showing the extent of the concern and any surrounding skin. Submit high-resolution images directly through your dermatology platform's secure upload system before your appointment.
Do you have to show your face on a telehealth appointment?
You don't need to show your face if your skin concern is on another part of your body. However, if your concern involves facial skin, acne, or other face-related issues, your dermatologist will need to see that area during the consultation. You can position your camera to show only the affected area while keeping other parts of your face or body private. Discuss privacy preferences with your dermatology provider before your appointment, they can guide you on what's needed for an effective consultation.